Test procedure
Our testing techniques include various methods for preparing, analyzing and evaluating materials.
Tensile test
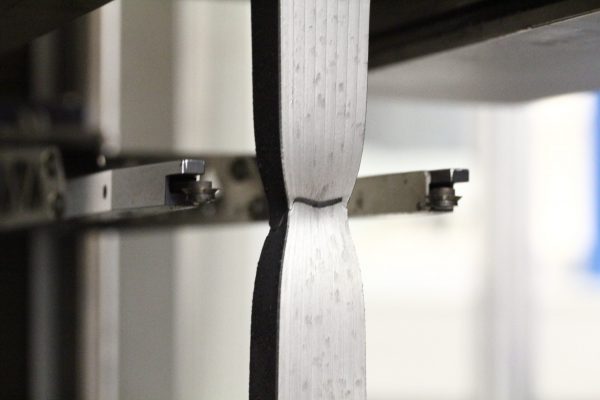
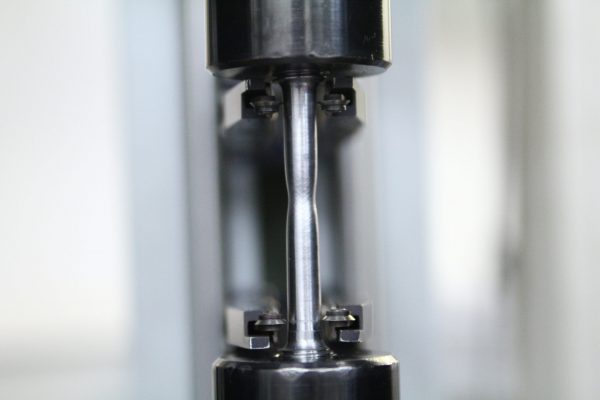
The tensile test is one of the most frequently required destructive test methods.
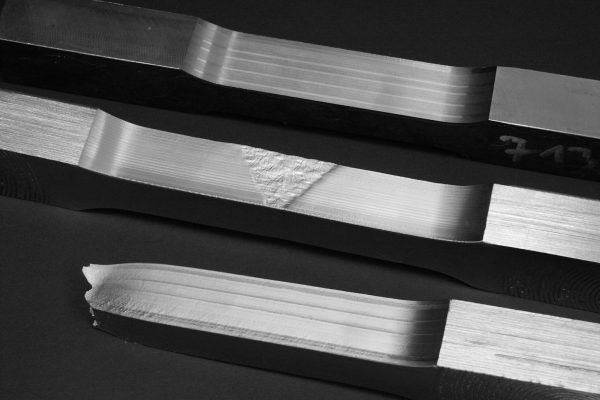
It is used to determine important material parameters such as yield strength, tensile strength and elongation at break. Our universal testing machine is available with a maximum load of 620kN. We adapt a 60kN load cell for very small samples and for the low force range.
DIN EN ISO 6892-1, DIN EN ISO 4163, DIN EN ISO 5178
ASTM E8/E8M, ASME QW-150
Hot tensile test
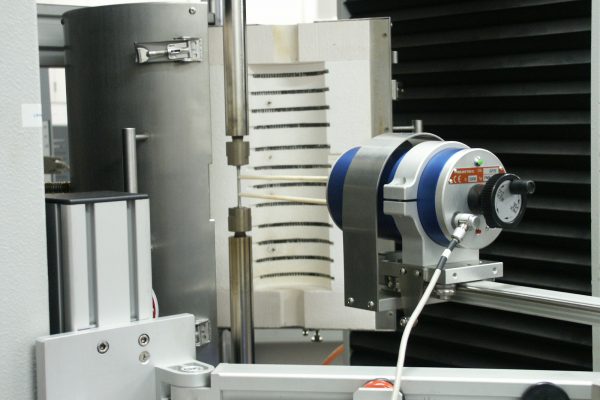
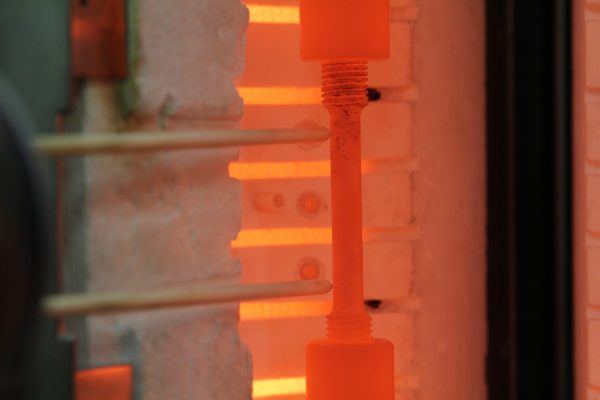
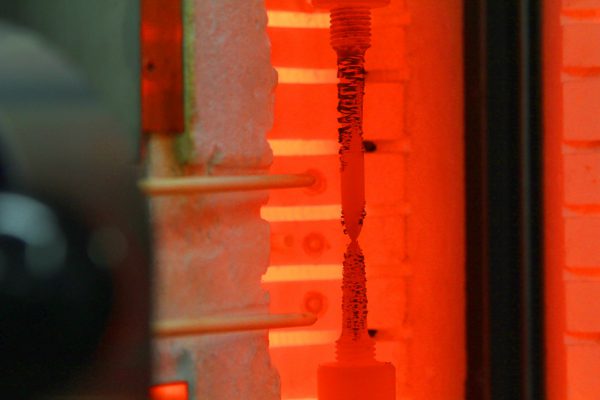
In the hot tensile test, the mechanical properties are verified at elevated temperatures, in contrast to the classic tensile test at RT.
An oven is adapted to our universal testing machine for this purpose. The test temperature can be up to 900°C.
DIN EN ISO 6892-2
ASTM E21
Bending test
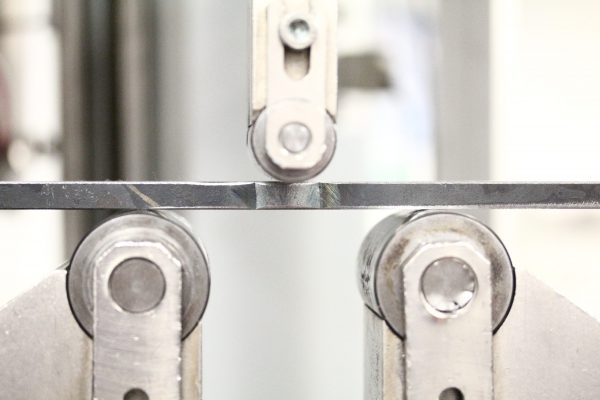
The 3-point bending test is often required as a technological test method, especially for welded specimens.
A sample taken from a welded joint is plastically deformed by bending without reversing the bending direction. One of the surfaces or the cross-sectional area of the welded joint is under tension.
DIN EN ISO 7438, DIN EN ISO 5173
ASTM E190, ASME QW-160
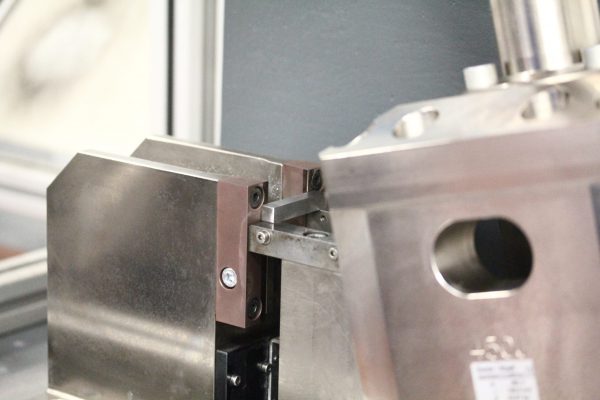
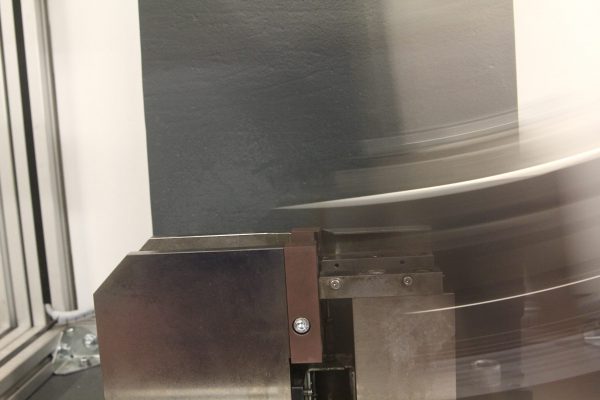
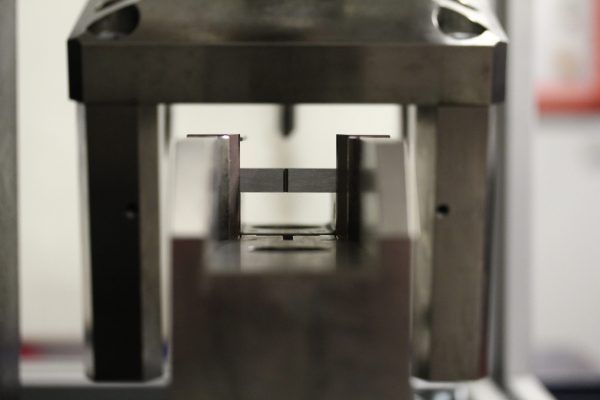
Notched bar impact test
The property of toughness is crucial for the use of most materials.
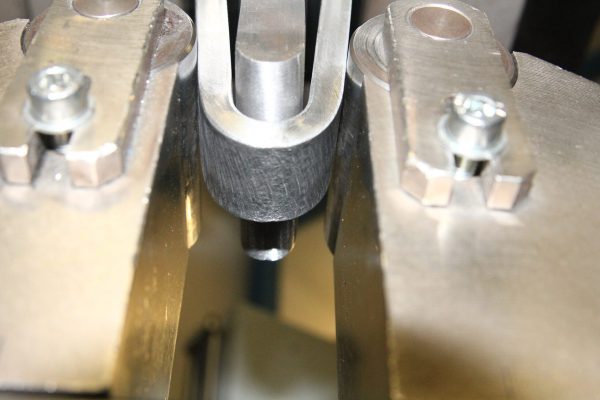
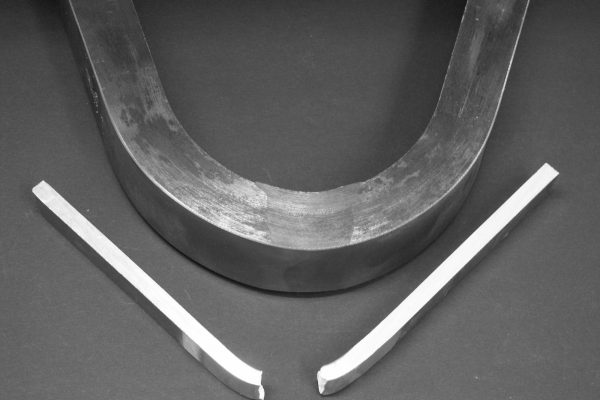
With our 450J pendulum impact tester, we can test notched bar impact specimens in the temperature range from +200°C to -196°C. We can produce Charpy V, U and other specimen shapes, as well as undersize specimens with a width of 2.5mm in our specimen workshop. Additional tests, such as the determination of lateral expansion or the shear fracture percentage, can be evaluated after the impact test.
DIN EN ISO 148, DIN EN ISO 9016
ASTM E23 (NIST certification)
Hardness test
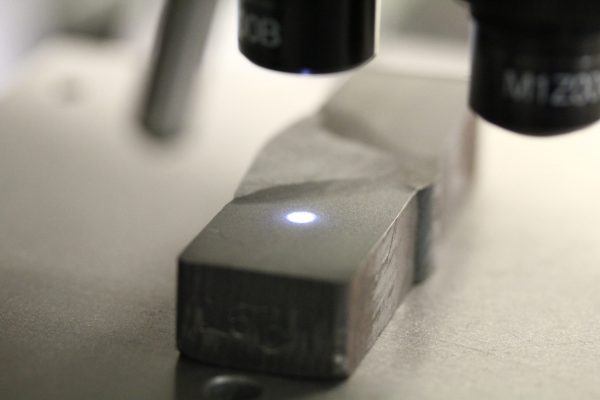
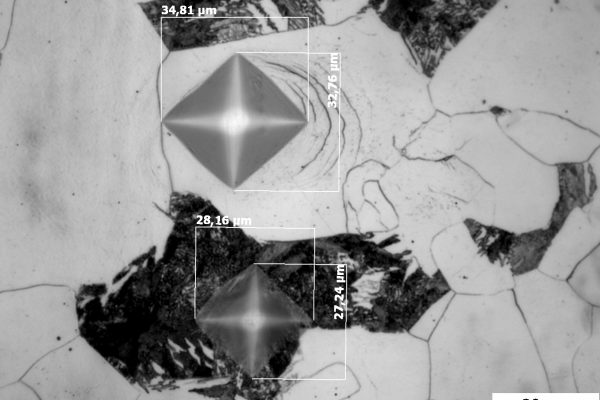
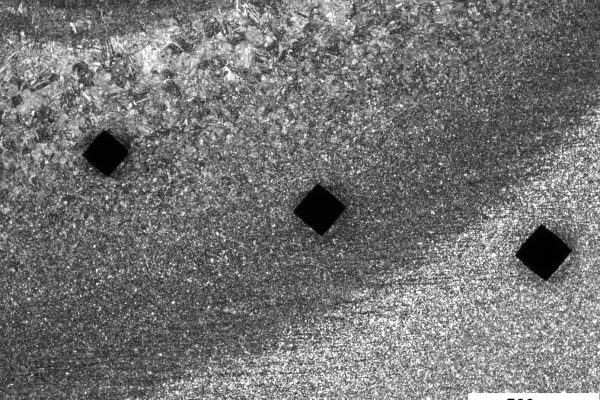
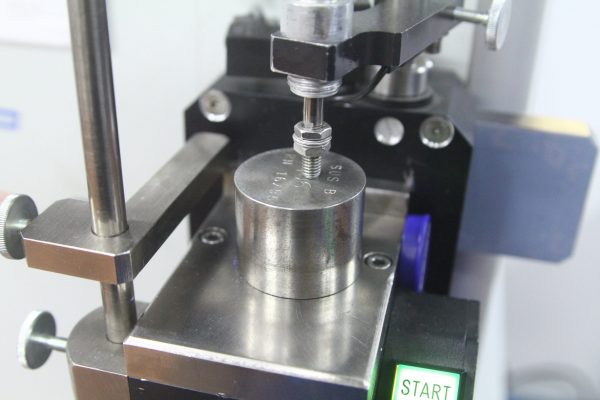
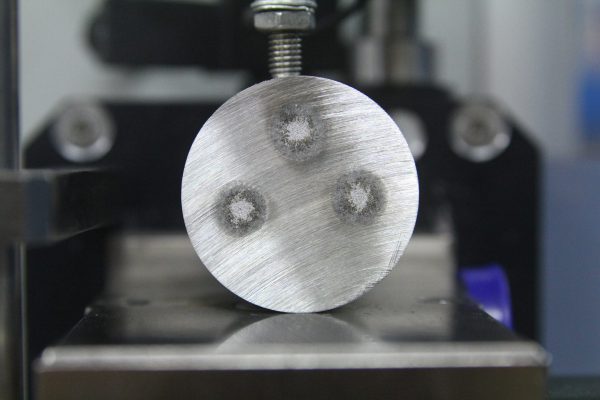
Our hardness test runs fully automatically and has a high-resolution camera.
These can be used to automatically evaluate the indentations. We can carry out individual measurements as well as hardness curves and hardening depths (CHD, NHD, SHD). We also have a mobile hardness tester at our disposal.
Our force range extends from HV0.00025 – HV60.
DIN EN ISO 6507-1/-2
ASTM E92
Spectral analysis
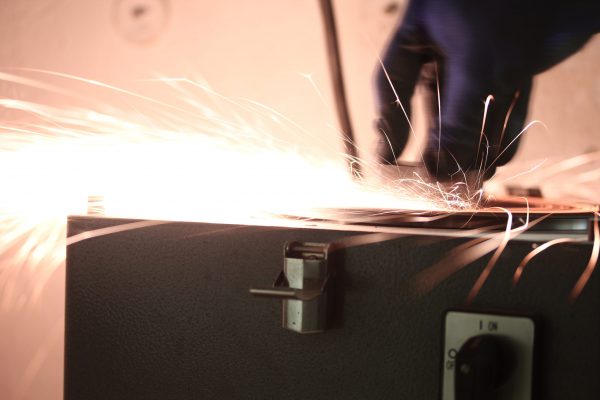
In order to analyze the chemical composition of the materials, we can spark the material to be tested with our stationary emission spectrometer. Our scope covers low and high-alloy ferrous materials as well as nickel-based materials.
The following elements can be analyzed:
C, Si, Mn, P, S, Cu, Al, Cr, Mo, Ni, V, Ti, Nb, Co, W, Fe, B
Metallography
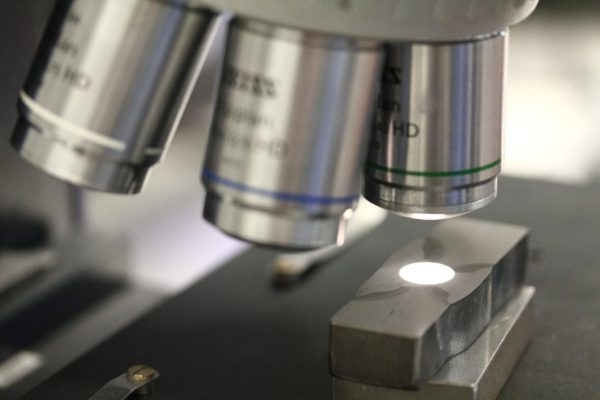
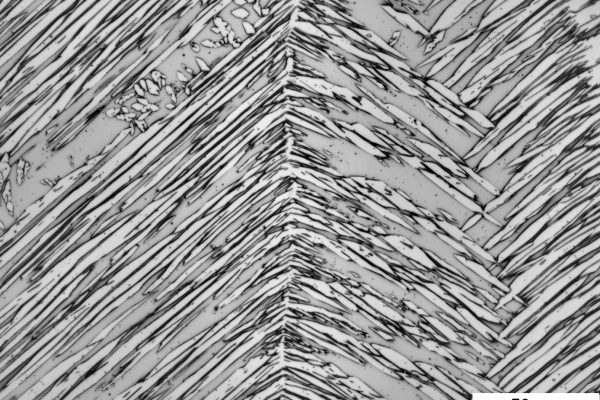
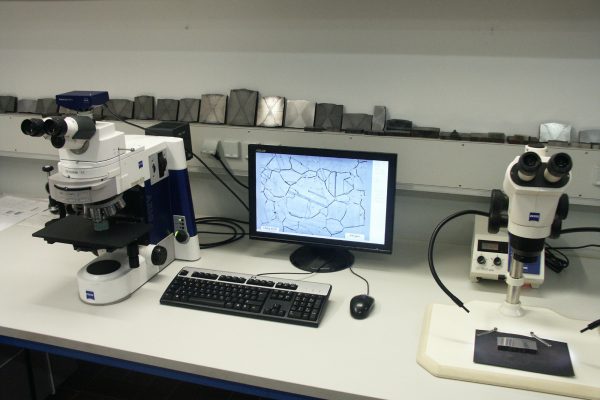
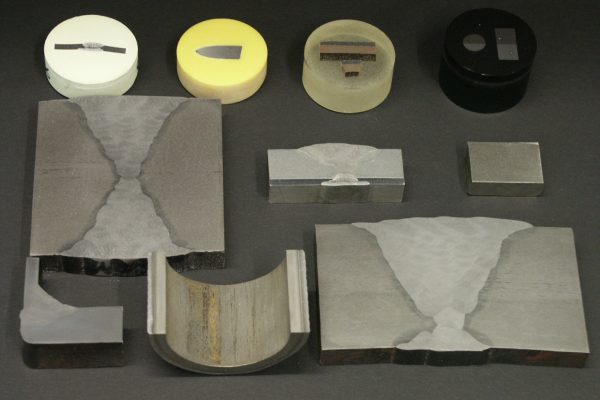
During microscopic and macroscopic examinations, micrograph samples are taken and prepared.
We also offer outpatient metallography, in which we can take a macro/microscopic impression directly from the component.
The following tests/measurements can be carried out:
- Examination for (weld seam) irregularities
- Welded layer structure
- Coating thickness measurement according to DIN EN ISO 1463
- Grain size determination according to DIN EN ISO 643, ASTM E112
- Structural component counting according to DIN EN ISO 9042, ASTM E562
Metallographic preparation
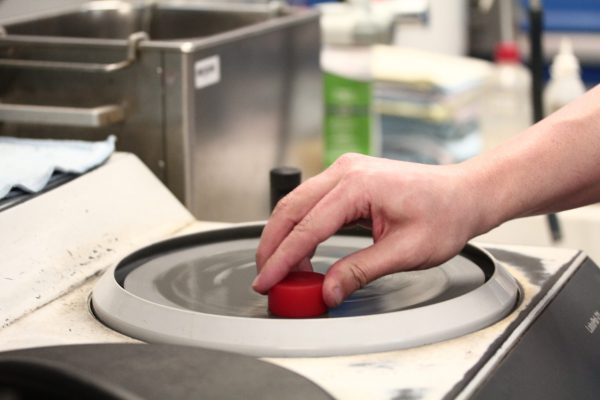
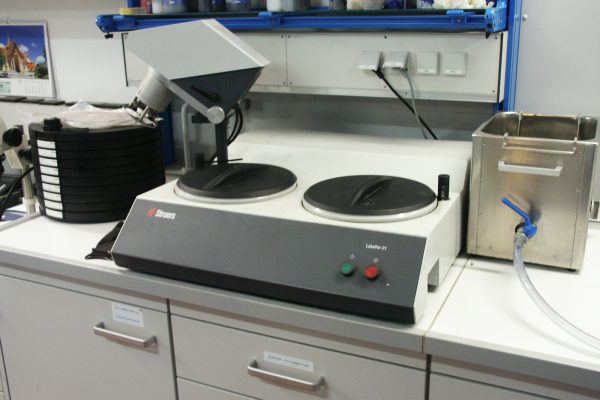
Specimen preparation can be carried out on very small specimens as well as on complex components. The preparation can be carried out without restriction by embedding the micro specimens. A mobile preparation and etching station can be used for larger, more complex samples or components.
The etching of the sample/component can be prevented by
- Dip etching,
- Wipe etching or
- electrolytic cauterization (also possible on an outpatient basis).
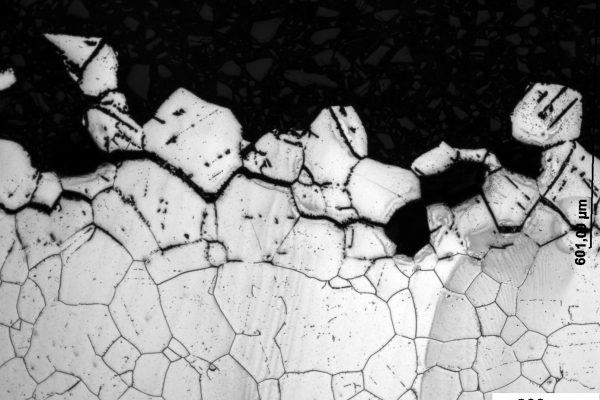
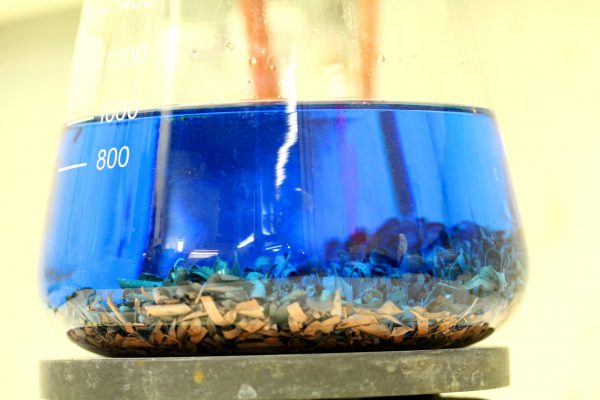
IK test
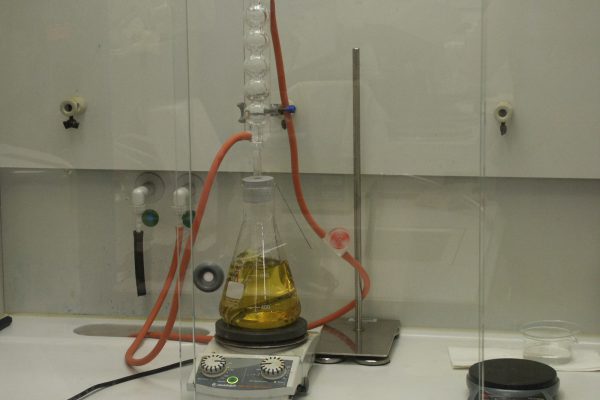
The IK test is used to determine the resistance of stainless steels to intercrystalline corrosion.
The evaluation can be based on mass losses or optical phenomena, e.g. after bending.
- DIN EN ISO 3651-1 (Huey-Test)
- DIN EN ISO 3651-2 A, B & C
- SEP 1870 (Huey-Test)
- SEP 1877
- ASTM A262 Prac. C & E
- ASTM G28
- ASTM G48- Method A
- ASTM A923- Method C
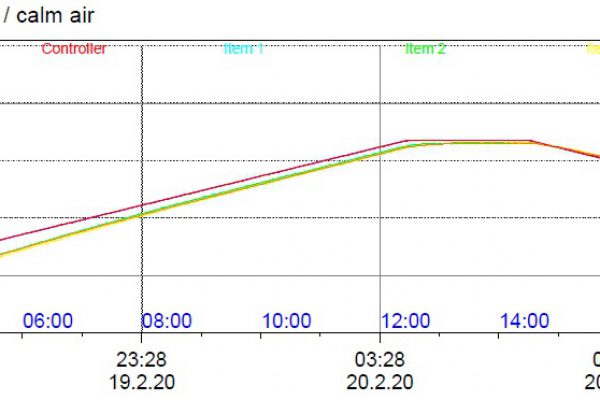
Heat treatment
Further technological test methods
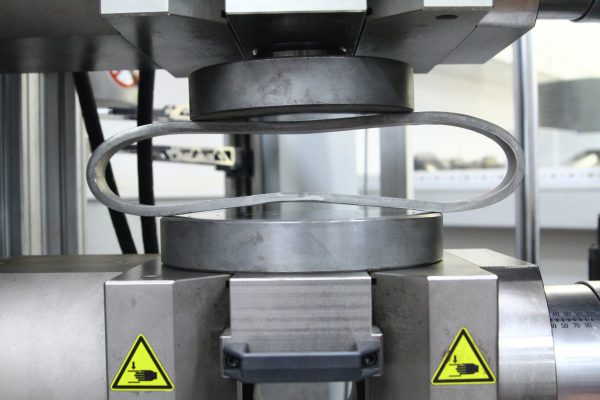
- Ring folding test DIN EN ISO 8492
- Expansion test DIN EN ISO 8493
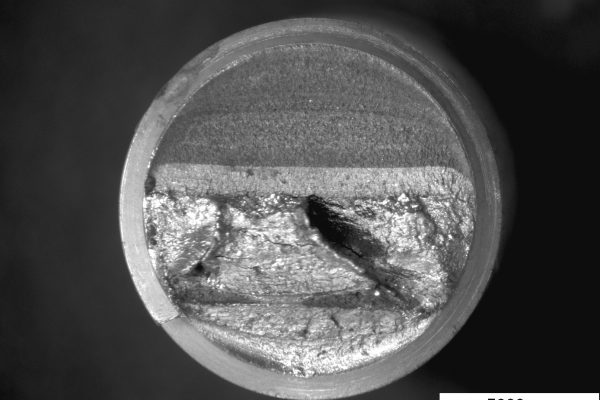
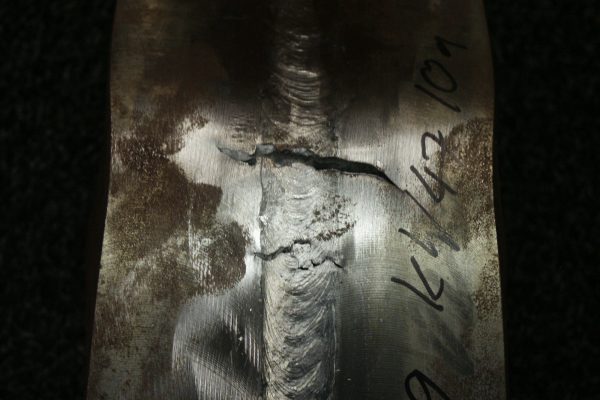
- Breakage test according to DIN EN ISO 9017
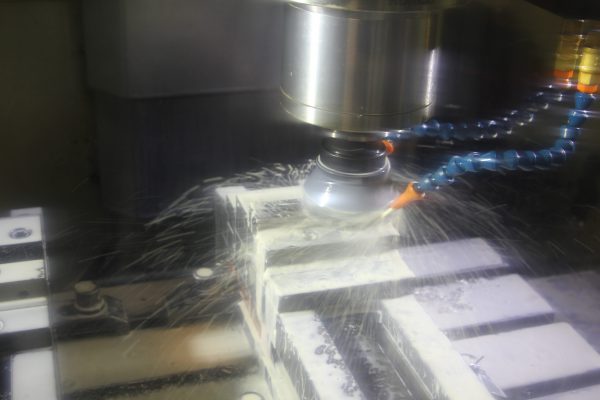
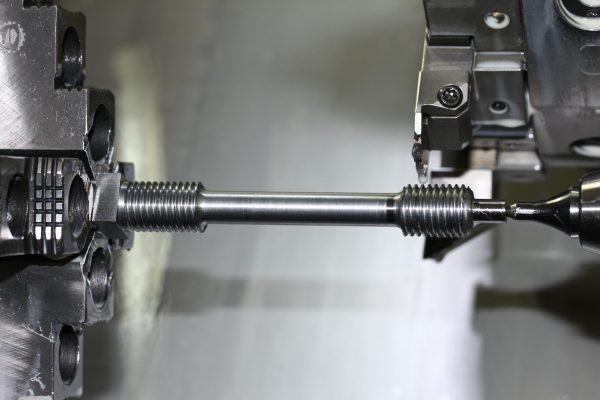
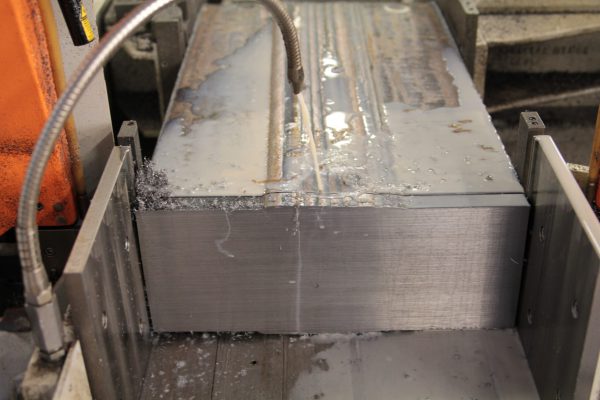
Sample preparation
